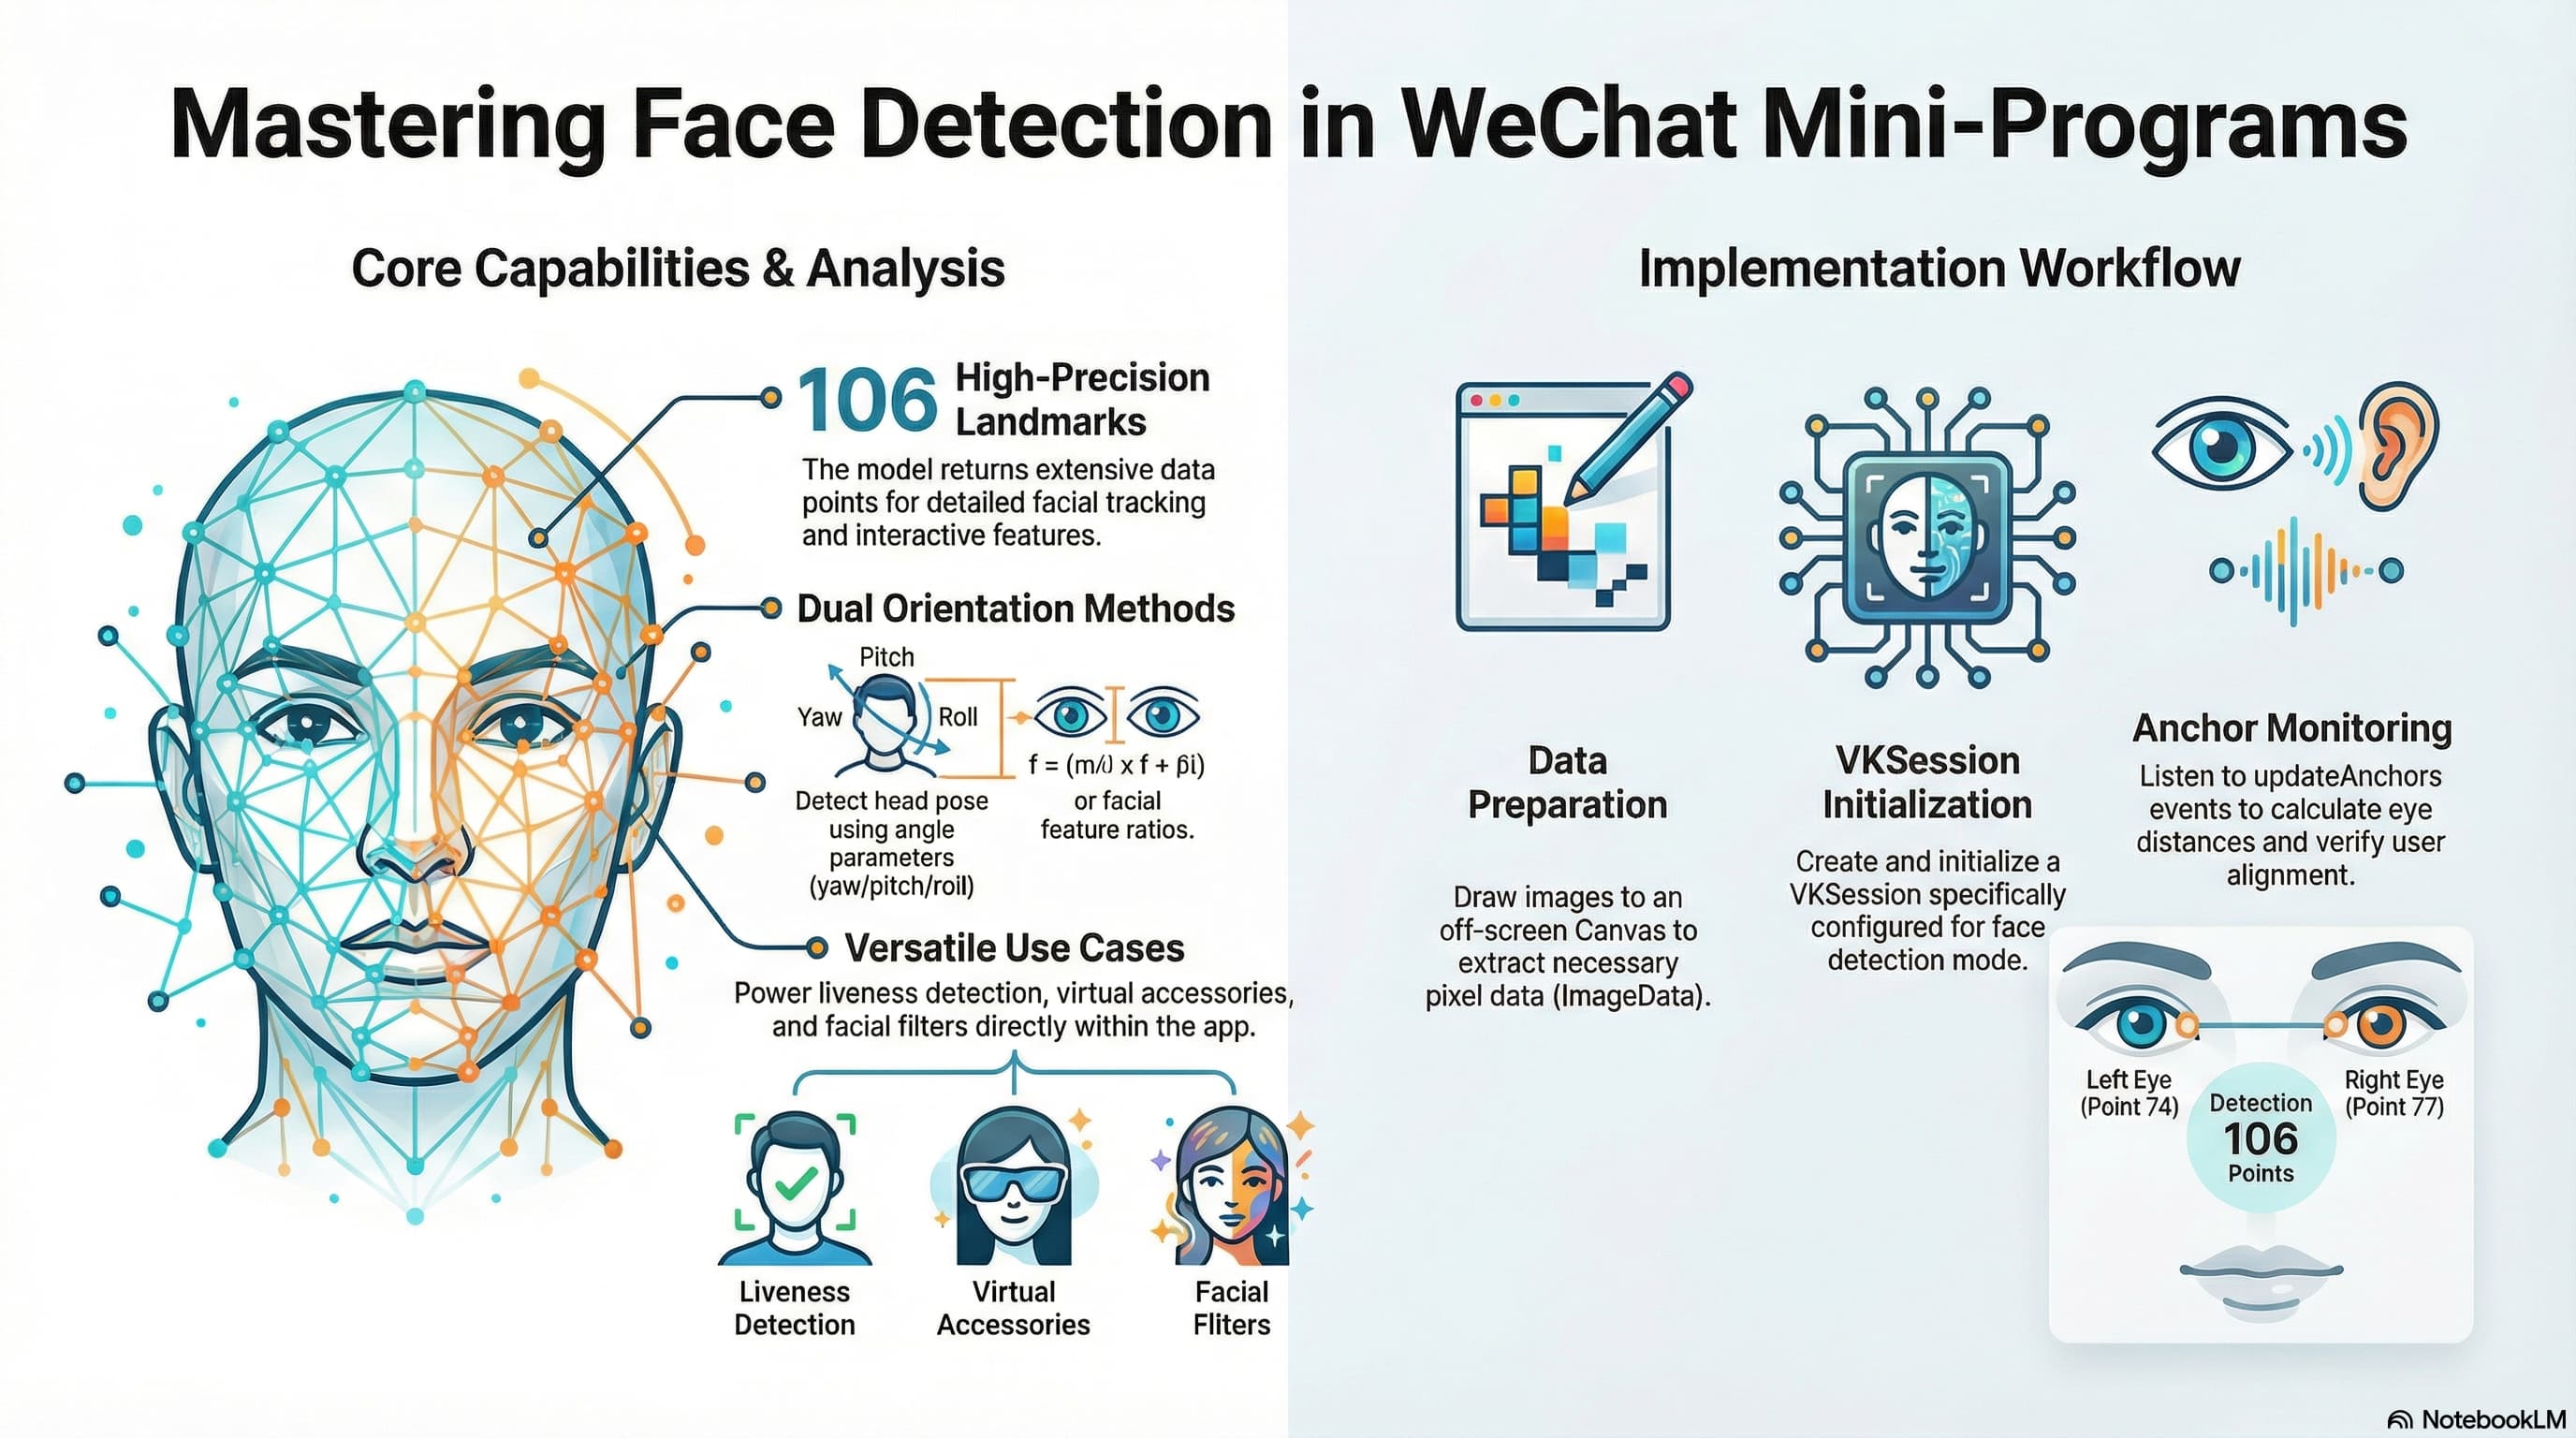
在微信小程序的开发中,如果我们需要实现人脸识别、活体检测或是基于人脸的互动玩法,微信官方提供的 VisionKit(视觉能力) 是一个非常强大且便捷的工具。它内置了高效的人脸检测模型,能够实时返回包含 106 个关键点的人脸数据。
本文将结合实际代码,带大家了解如何在 Taro 框架下利用微信小程序的 VisionKit 实现人脸检测,并判断用户是否正对屏幕。
核心数据结构:Anchor
在调用人脸检测接口后,模型会返回一个 anchor 对象数组(每个人脸对应一个 anchor)。了解其数据结构是我们处理人脸逻辑的基础:
struct anchor
{
  points,    // 106点在图像中的(x,y)坐标,可用于精确定位五官
  origin,    // 人脸框的左上角(x,y)坐标
  size,      // 人脸框的宽和高(w,h)
  angle,     // 人脸角度信息(pitch: 俯仰角, yaw: 偏航角, roll: 翻滚角)
  confidence // 人脸关键点的置信度(得分)
}
💡 提示:判断人脸朝向有两种常用方式:
- 通过角度 (
angle):直接利用yaw、pitch、roll参数判断头部姿态。- 通过关键点比例:利用双眼距离与人脸宽度的比例,或五官的相对位置来判断。本文的代码示例采用的是计算双眼距离的方法。
实战代码:判断人脸是否正对屏幕
下面是一段完整的 Taro 实现代码。其核心流程如下:
- 获取图片信息并绘制到离屏 Canvas 上,提取像素数据 (
ImageData)。 - 创建并初始化
VKSession,开启人脸检测模式。 - 监听
updateAnchors事件,通过计算左右眼(第 74 点和第 77 点)的距离与人脸宽度的比例,来判断人脸是否有效(正对屏幕)。 - 传入图片帧数据,触发检测。
const detectFace = async (photos: string[]) => {
  let isFaceValid = false;

  if (!photos || photos.length === 0) return;

  const imgUrl = photos[0];

  try {
    // 1. 获取图片信息
    const res = await Taro.getImageInfo({ src: imgUrl });
    const { width, height } = res;

    // 2. 创建离屏 Canvas 并绘制图片以获取像素数据
    const canvas = Taro.createOffscreenCanvas({
      type: "2d",
      width: width,
      height: height,
    });
    const context = canvas.getContext("2d") as any;
    const img = canvas.createImage();

    await new Promise((resolve) => {
      img.onload = resolve;
      img.src = imgUrl;
    });

    context.clearRect(0, 0, width, height);
    context.drawImage(img, 0, 0, width, height);
    const imgData = context.getImageData(0, 0, width, height);

    // 3. 初始化 VisionKit 会话
    const session = Taro.createVKSession({
      version: "v1",
      track: {
        face: { mode: 2 }, // mode: 1 - OCR, 2 - Face
      },
    } as any);

    // 4. 监听人脸锚点更新事件
    session.on("updateAnchors", (anchors) => {
      anchors.forEach((anchor) => {
        // 获取左右眼的关键点(索引74和77)
        const leftEye = anchor.points[74];
        const rightEye = anchor.points[77];

        let distance = 0;
        if (leftEye && rightEye) {
          const dx = leftEye.x - rightEye.x;
          const dy = leftEye.y - rightEye.y;
          // 计算双眼之间的直线距离
          distance = Math.sqrt(dx * dx + dy * dy);
        }

        // 通过双眼距离与人脸宽度的比例来判断是否正对屏幕
        // 阈值 0.25 可根据实际业务需求进行微调
        if (Math.abs(distance / anchor.size.width) > 0.25) {
          isFaceValid = true;
        }

        // 另一种方案:也可以直接使用 anchor.angle.yaw 来判断偏航角
      });
    });

    // 5. 启动会话并传入静态图片帧进行检测
    session.start((errno) => {
      if (errno) {
        console.error("VKSession 启动失败", errno);
      } else {
        console.log("VKSession 启动成功");
        session.detectFace({
          frameBuffer: imgData.data.buffer,
          width: width,
          height: height,
          scoreThreshold: 0.5,
          sourceType: 1, // 1 表示静态图片
          modelMode: 1, // 1 表示单次检测
        } as any);
      }
    });
  } catch (err) {
    console.error("人脸检测发生异常:", err);
  }

  // 6. 处理检测结果
  if (isFaceValid) {
    Taro.showToast({
      title: "检测成功,人脸匹配",
      icon: "success",
      duration: 3000,
    });
  } else {
    Taro.showToast({
      title: "未检测到有效人脸",
      icon: "none",
      duration: 3000,
    });
  }
};
总结
微信小程序原生提供的 VisionKit 极大降低了我们在端侧实现 AI 视觉能力的门槛。除了静态图片检测,它同样支持结合 Camera 组件进行实时视频流的人脸追踪。
在实际业务中,你可以根据 anchor 提供的 106 个关键点实现更丰富的玩法,比如给用户“戴上”虚拟眼镜、美颜滤镜,或是结合 angle 属性实现简单的“摇头、点头”活体动作校验。
参考文档: